
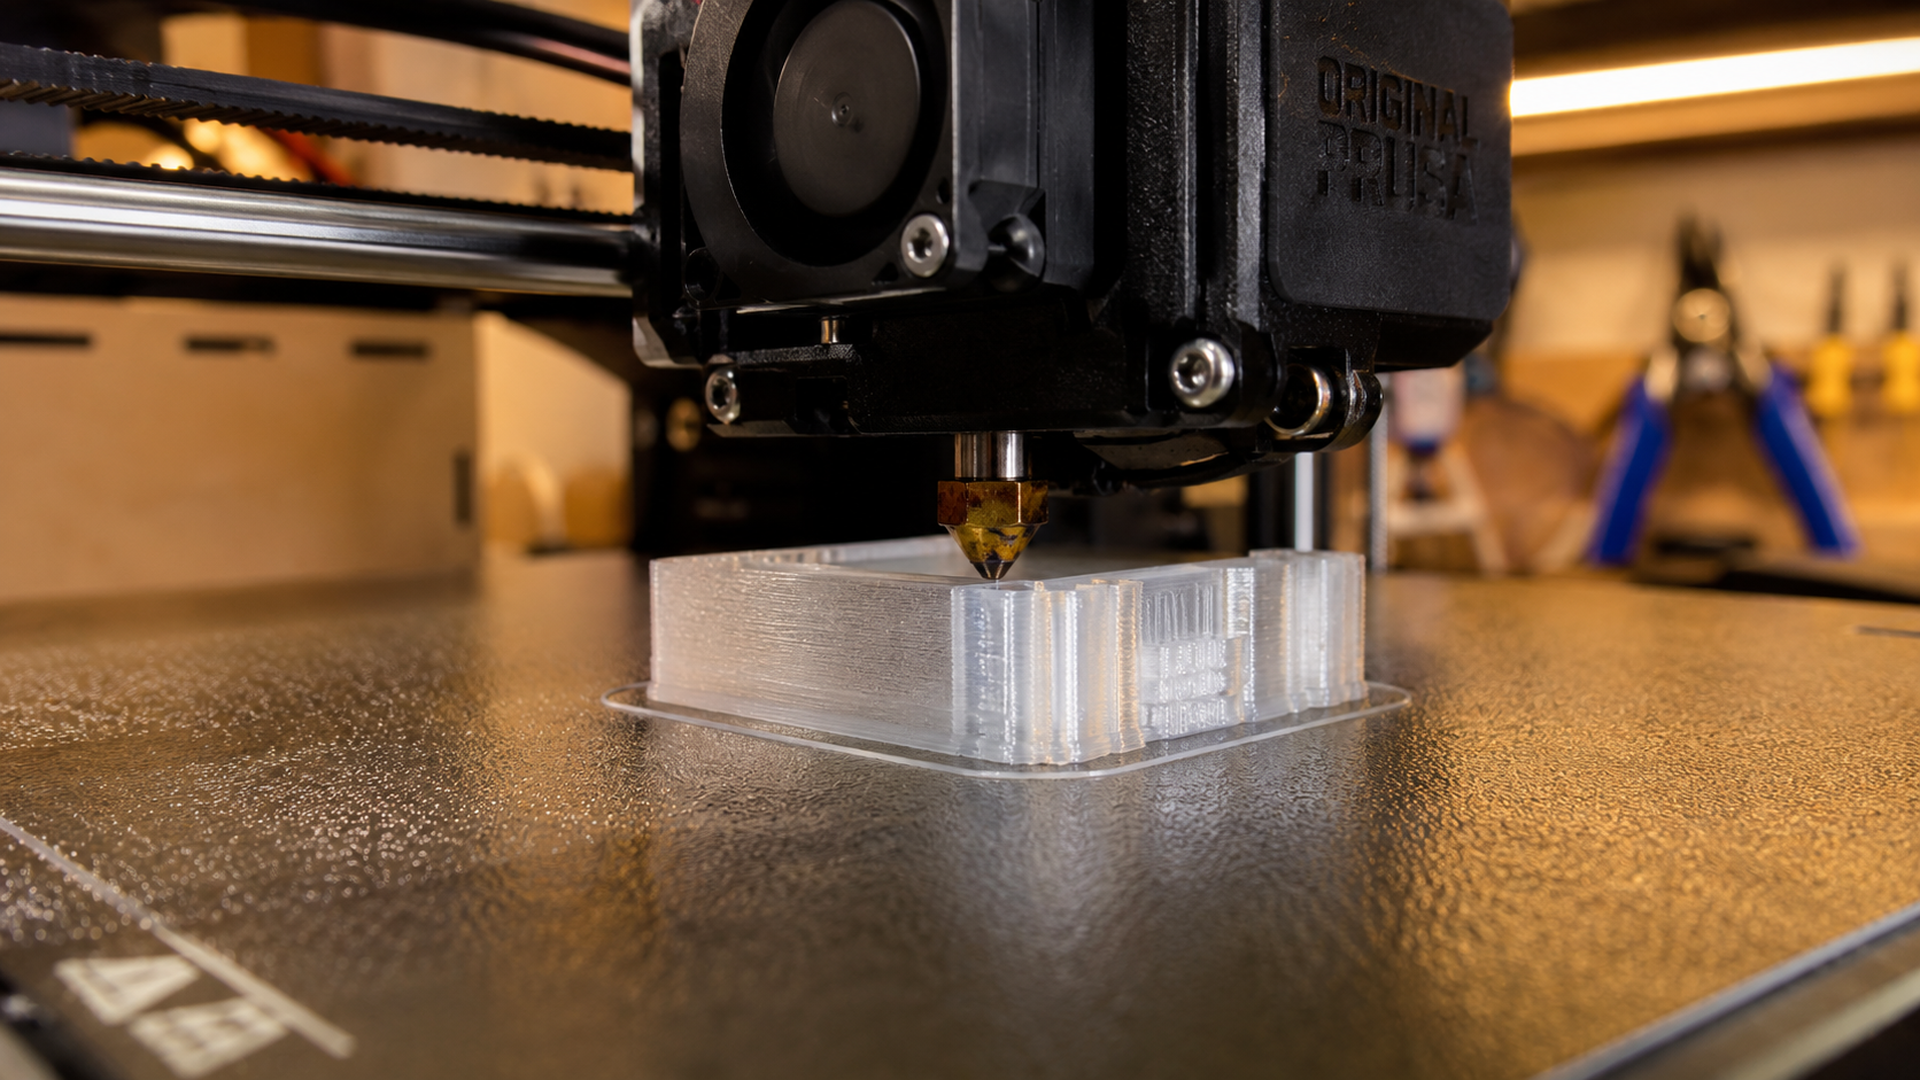

Quick Summary
- PETG prints best at a nozzle temperature of 230-260°C, with most brands hitting the sweet spot around 240-250°C depending on your printer and filament brand.
- Bed temperature for PETG should be set between 70-90°C, with 80°C as a reliable starting point for glass, PEI, and textured build plates.
- Print speed for PETG ranges from 40-60 mm/s for good quality, with first layer slowed to 20-30 mm/s to ensure proper bed adhesion.
- Fan cooling should be set to 0-50% maximum for PETG, and many experienced makers disable cooling entirely for the first few layers to prevent warping.
- PETG absorbs ambient moisture quickly and requires drying at 65°C for 4-6 hours if left exposed for more than a few days to prevent stringing and surface defects.
petg print settings refer to the combination of nozzle temperature, bed temperature, print speed, cooling, retraction, and layer parameters that produce strong, clean, and dimensionally accurate parts from PETG filament. Unlike PLA, PETG demands narrower temperature windows and more deliberate cooling control, but the payoff is parts that resist heat, impact, and UV exposure far better than standard PLA prints.
Table of Contents
- Optimal Temperature Settings for PETG
- Speed, Cooling, and Retraction Settings
- Layer Height and Print Quality Settings
- PETG vs PLA: Key Settings Comparison
- Common PETG Printing Problems and Fixes
- Per-Printer Profiles and Material Care
- Common Questions About PETG Print Settings
- Start Printing PETG With Confidence
Optimal Temperature Settings for PETG
Optimal Nozzle Temperature for PETG
The correct nozzle temperature is the single most important variable for successful petg print settings. PETG flows at a higher temperature range than PLA and is significantly more sensitive to hot-end temperature variation. If you are new to the material, our PLA vs PETG comparison guide covers the fundamental differences between these two filaments.
Recommended Temperature Range
Most PETG filaments print reliably between 230°C and 260°C. The specific sweet spot depends on your printer’s hot-end design, the brand of filament, and whether you are using a direct-drive or Bowden extruder. Generic PETG typically performs well at 240-250°C. Overture PETG prints cleanly at 230-250°C according to the manufacturer’s 2026 specification sheet. FormFutura PETG recommends 230-245°C for their Apollo series. Bambu Lab’s PETG-CF profile uses 260-280°C due to the carbon fiber content.
How to Dial In the Perfect Temperature
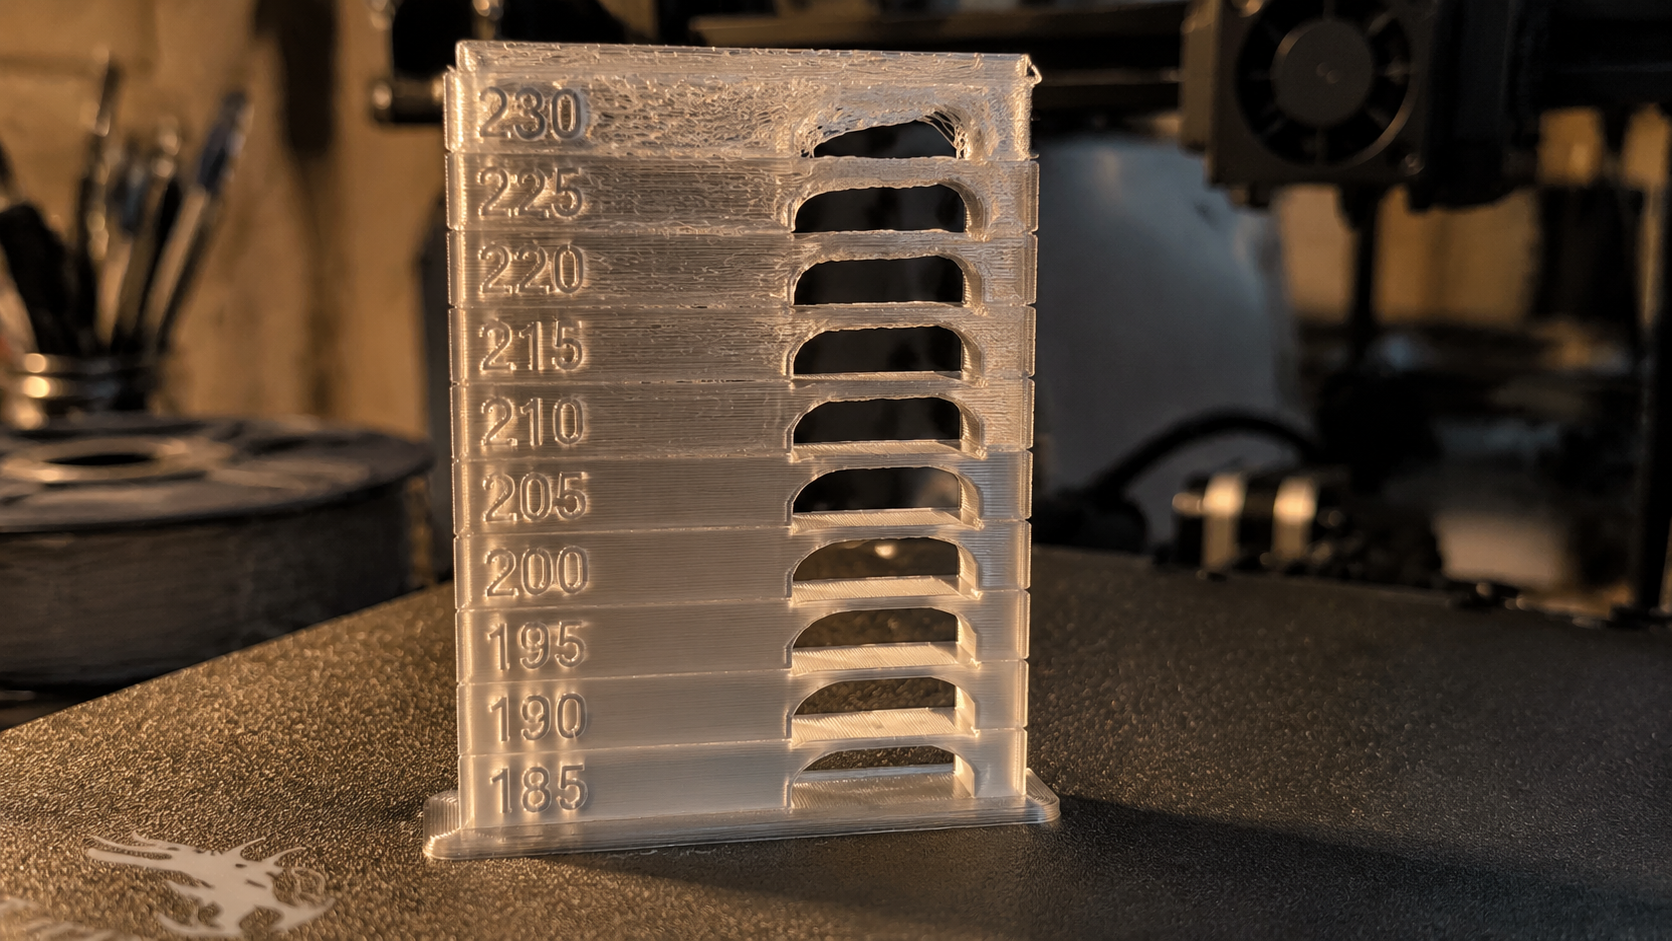
Print a temperature tower from 260°C down to 230°C in 5°C increments. Inspect each tier for stringing, layer adhesion, and surface finish. The tier with the glossiest surface and least stringing is your starting point. If every tier strings, your filament likely needs drying (see the drying section below). If every tier has poor layer adhesion, bump the minimum by 5°C.
Signs of Wrong Temperature
- Too hot (above 260°C for standard PETG): Excessive oozing, blobs on the outer wall, stringy travel moves, and a dull or burnt amber discoloration.
- Too cold (below 230°C): Poor layer adhesion (layers split apart under thumb pressure), underextrusion, rough surface texture, and clicking from the extruder skipping.
🌡️ Pro Tip: If you are printing PETG for functional parts that bear load (brackets, hinges, enclosures), bias toward the upper end of the range (250-255°C). The improved layer fusion at higher temperatures increases the tensile strength of PETG, which measures approximately 50 MPa in optimal conditions, significantly higher than PLA’s ~37 MPa.
Best Bed Temperature for PETG Adhesion
PETG sticks aggressively to build surfaces, often too aggressively. Getting the bed temperature right is the difference between a perfect first layer and a fused mess that damages your build plate. If you are struggling with parts that will not stay down, our bed adhesion guide covers first-layer troubleshooting for PETG and other materials.
Standard Bed Temperature Range
Set your bed to 70-90°C for PETG. The ideal temperature depends on your build surface:
- PEI sheet (smooth): 70-75°C. PETG can bond permanently to smooth PEI, so apply a thin layer of glue stick or use the textured side.
- PEI sheet (textured): 75-80°C. Textured PEI releases much easier. Clean with isopropyl alcohol between prints.
- Glass with adhesive: 80-85°C. Glass needs higher bed temp because PETG transfers heat less efficiently through the glass layer.
- BuildTak / G10 / FR4: 75-80°C. These surfaces work well at mid-range temperatures with no adhesive needed.
First Layer Tips for PETG
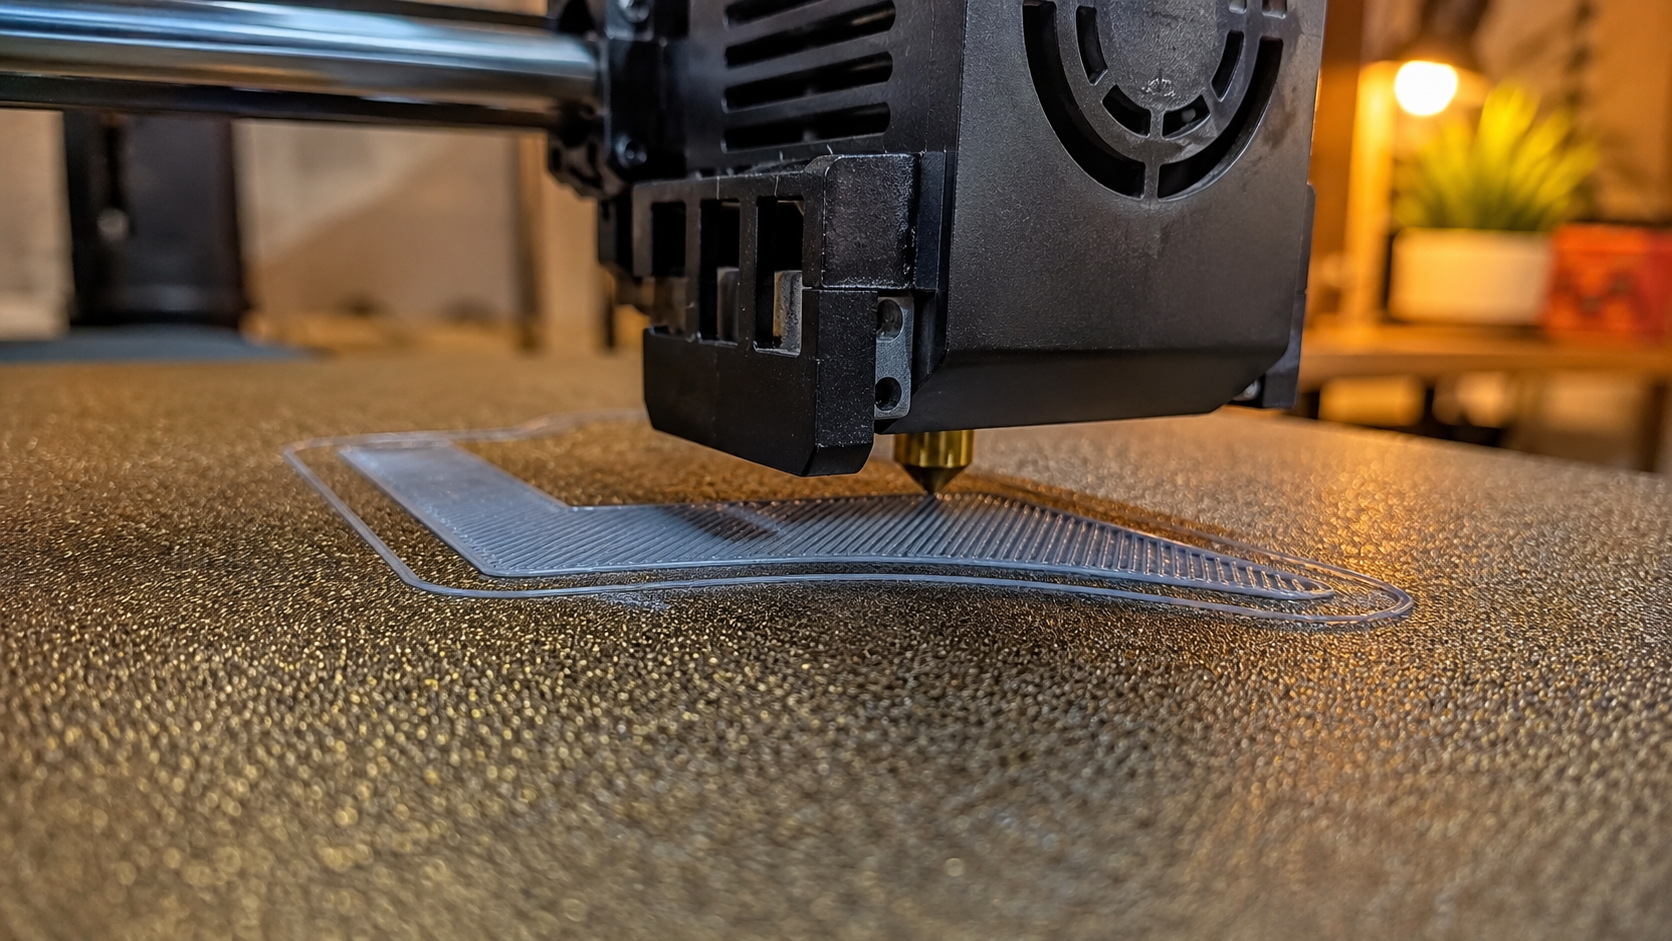
The first layer for PETG requires a slightly larger gap than PLA. Set your Z-offset 0.02-0.05 mm higher than your PLA value. A PETG first layer should look slightly squished but NOT translucent-squished the way PLA does. If the first layer is transparent, you are too close and the filament will fuse to the plate. Run a first-layer calibration square in the center and each corner of the bed before starting a full print.
Speed, Cooling, and Retraction Settings
Print Speed and Cooling Settings for PETG
Speed and cooling are tightly coupled for PETG. Run too fast and the filament does not bond properly. Run the fan too high and the part becomes brittle with poor interlayer adhesion.
Recommended Print Speed
Standard PETG prints cleanly at 40-60 mm/s for outer walls and 60-80 mm/s for inner walls. Infill can run at 80-100 mm/s without visible quality loss. First layer should be capped at 20-30 mm/s to give the filament time to squish into the build surface.
If you are using a high-flow hot-end (e.g., Bambu Lab X1C with hardened nozzle), you can push to 80-100 mm/s for walls, but reduce volumetric flow rate limits in your slicer to 12-15 mm³/s to prevent underextrusion.
Cooling and Fan Settings
PETG needs significantly less cooling than PLA. Too much fan cooling causes the printed layer to cool too quickly, leading to poor bonding with the next layer and brittle interlayer adhesion.
- Fan speed: 0-50% maximum. Start with 30% and reduce if you see poor layer adhesion.
- First layers: Disable cooling for the first 3-5 layers entirely. This lets the bottom layers bond firmly to each other and to the build surface.
- Overhangs and bridges: Increase fan to 40-50% only for extreme overhangs (past 60 degrees) or bridge spans longer than 15 mm. Add a support blocker in your slicer to define these regions instead of global fan increase.
- Minimum layer time: Set to 8-10 seconds in your slicer. For small features that would print faster than this, the printer should slow down rather than increase fan.
Retraction Settings to Reduce Stringing
PETG is notorious for stringing. The filament is more viscous than PLA when melted and leaves thin strands during travel moves. Proper retraction tuning is the solution.
Retraction Distance
| Extruder Type | Retraction Distance | Notes |
|---|---|---|
| Direct drive (Bambu Lab X1, P1S, A1) | 0.6-1.2 mm | Short distance because the extruder is close to the nozzle |
| Direct drive (Prusa MK4, Voron) | 0.8-1.5 mm | Slightly longer for all-metal hot-ends with longer melt zones |
| Bowden (Ender 3, CR-10, older Creality) | 4-6 mm | Longer distance needed to overcome PTFE tube slack |
| Bowden with all-metal hot-end | 3-5 mm | Reduce from standard Bowden values to prevent clogging |
Retraction Speed
Set retraction speed to 30-45 mm/s. Too slow and the filament oozes during the travel move. Too fast and the filament grinds against the extruder gear or separates from the molten zone. For direct-drive systems, 30-35 mm/s works best. For Bowden systems, 40-45 mm/s compensates for the longer path.
Coasting and Wipe
Enable coasting (or pressure advance / linear advance on Klipper firmware) to reduce nozzle pressure before travel moves. Coasting retracts 0.02-0.05 mm³ of filament volume before each retraction. Wipe set to 0.2-0.5 mm on retract helps clear the nozzle tip of excess filament before travel.
🧵 Stringing Test: Run a retraction test tower (two small pillars connected by travel moves at increasing retraction distances) before starting a multi-hour print. If you still see spiderwebbing at optimal retraction, dry your filament first. Wet PETG stringing cannot be solved by retraction alone.
Layer Height and Print Quality Settings
Recommended Layer Heights
PETG produces excellent results at 0.2 mm layer height with a 0.4 mm nozzle, which balances speed with visible layer finish. For functional parts where surface finish matters less, 0.28-0.3 mm layers cut print time by 30-40%. For detailed parts or text, 0.12-0.16 mm layers produce smoother surfaces but increase stringing risk because each layer is thinner and has more time to ooze.
Line Width and Flow Rate
Set line width to 100-110% of nozzle diameter (0.4-0.44 mm for a 0.4 mm nozzle). PETG bonds better at slightly wider line widths because the filament is pressed into the previous layer rather than laid on top. Flow rate should be calibrated using a single-wall cube test. Target a wall thickness of 0.4 mm for a 0.4 mm nozzle setting; adjust flow down by 2-5% if the wall measures thicker than expected.
Ironing
Ironing on PETG top surfaces produces a noticeably smoother finish than on PLA. Enable ironing at 10-15% flow and 50 mm/s speed in your slicer. The ironing pass remelts the top layer, flattening the layer lines into a matte or semi-gloss surface.
PETG vs PLA: Key Settings Comparison
If you are coming from PLA, every setting changes for PETG. The table below shows the direct comparison so you can adjust your slicer profile without guesswork.
| Setting | PLA | PETG |
|---|---|---|
| Nozzle temperature | 190-220°C | 230-260°C |
| Bed temperature | 50-65°C | 70-90°C |
| Print speed (walls) | 50-80 mm/s | 40-60 mm/s |
| Fan speed | 50-100% | 0-50% |
| Retraction distance (direct drive) | 0.4-0.8 mm | 0.6-1.2 mm |
| Z-offset clearance | Tight (0.01-0.03 mm) | Loose (0.03-0.06 mm) |
| Layer adhesion strength | Good (~37 MPa tensile) | Excellent (~50 MPa tensile) |
| Heat resistance | 50-60°C | 75-85°C |
| UV resistance | Poor (degrades in sunlight) | Good (UV-stable for years) |
| Brittleness | Low (flexible) | Low (flexible, slightly stiffer than PLA) |
Important tradeoff: PETG is stronger and more temperature-resistant than PLA, but it is more difficult to print on open-frame printers in cool rooms, requires a dry storage environment, and cannot achieve the same sharp detail tolerance as PLA for small features.
📊 Market Context: According to the 2025 industry report from 3DPrint.com, PETG accounts for approximately 18-22% of the consumer 3D printing filament market, making it the second most popular material after PLA. The global 3D printing filament market was valued at approximately $2.1 billion in 2025, with engineering-grade materials like PETG growing at a faster rate than standard PLA as more makers transition to functional part printing.
Common PETG Printing Problems and Fixes
Stringing and Oozing
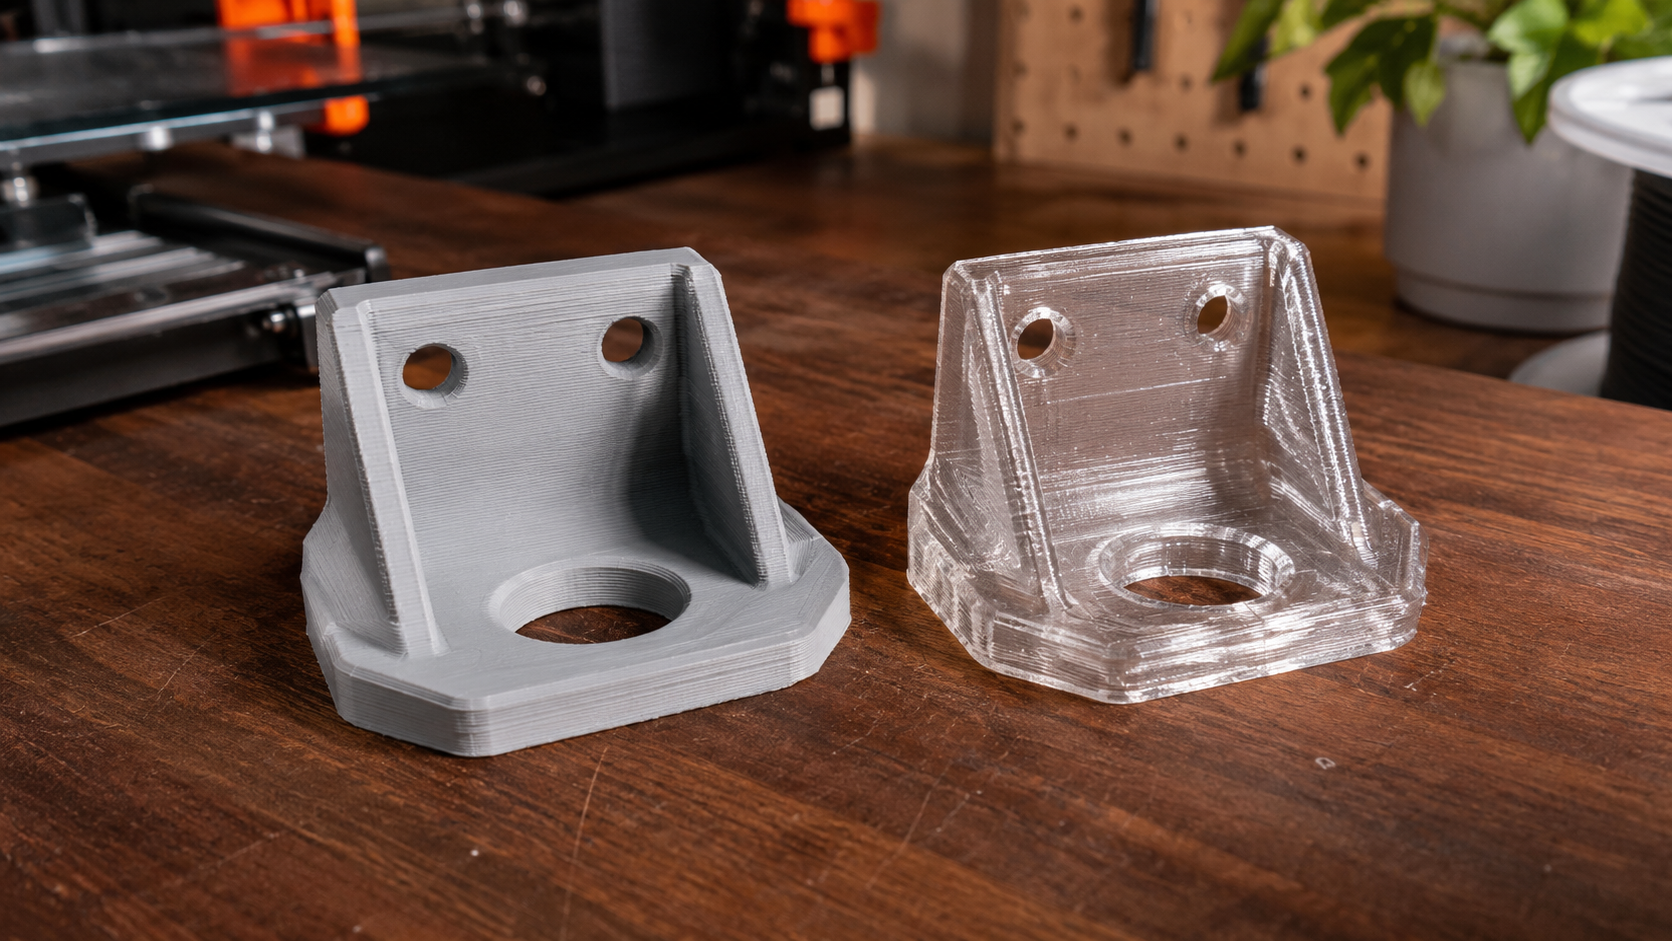
The most reported PETG issue. If retraction tuning does not solve it (see retraction section above), the root cause is often moisture in the filament. PETG is hygroscopic and absorbs water from ambient air. A filament that has sat out for 3-5 days in 50%+ humidity can gain enough moisture to cause continuous stringing regardless of retraction settings. Dry the spool at 65°C for 4-6 hours and retest. For a deeper walkthrough of oozing and stringing causes across multiple materials, check our dedicated stringing fix guide for PETG.
Poor Bed Adhesion
PETG curls at the corners when bed temperature is too low or the first layer Z-offset is too tight. Raise bed to 80°C, apply a thin layer of glue stick (even on PEI), and increase first layer line width to 120% of nozzle diameter to force more filament into the surface.
Layer Separation and Warping
If your PETG print cracks between layers under light bending force, the temperature is too low or fan cooling is too aggressive. Increase nozzle temp by 5-10°C and reduce max fan speed to below 30%. For large flat parts, a brim of 8-10 mm with a 0.1 mm separation gap prevents corner lifting without making cleanup difficult.
Over-Extrusion and Blobs
Blobs on the outer wall of PETG prints are almost always from over-extrusion caused by incorrect flow rate calibration or too-high nozzle temperature. Run a single-wall flow calibration cube. If the wall measures thicker than your set line width, reduce flow proportionally. For sudden blobs at layer start points, enable scarf joint or random Z-seat alignment in your slicer to distribute the seam.
Per-Printer Profiles and Material Care
Per-Printer PETG Profiles for Ender, Bambu Lab, and Prusa
These settings are tested starting points for the three most common printer families. Adjust up or down based on your specific filament brand.
Ender 3 V3 SE / V3 KE (Creality)
- Nozzle: 245°C
- Bed: 80°C (glass surface with glue stick)
- Speed: 50 mm/s outer walls, 70 mm/s inner walls
- Retraction: 5 mm at 40 mm/s (Bowden)
- Fan: 30% after layer 4
- Z-offset: Raise by 0.04 mm from PLA setting
- Flow: 97% (calibrate per spool)
Bambu Lab X1C / P1S / A1
- Use the built-in “Generic PETG” profile as your base
- Nozzle: 255°C (X1C/P1S), 250°C (A1)
- Bed: 75-80°C (textured PEI plate)
- Speed: 60 mm/s outer walls (slowed from default PETG profile)
- Retraction: 0.8 mm at 30 mm/s
- Fan: 20% maximum; disable for first 4 layers
- Volumetric flow limit: 12 mm³/s
- Apply glue stick on the textured PEI plate as a release agent
Prusa MK4 / MK4S
- Nozzle: 250°C
- Bed: 85°C (smooth PEI with glue stick)
- Speed: 45 mm/s outer walls
- Retraction: 1.2 mm at 35 mm/s
- Fan: 20-30% after layer 3
- Input shaping: Enable for PETG to reduce ghosting at higher speeds
🔧 Where DIY3D Fits: After you dial in your petg print settings, the next step is finding print-ready models. DIY3D hosts a free library of community-uploaded designs, many of which include 3MF files with embedded slice parameters. This means you can download a model and load it directly into your slicer with the creator’s own PETG settings already configured. Browse, download, and print without rebuilding profiles from scratch.
Ready to Print PETG on DIY3D?
Browse hundreds of free, community-tested 3D models with pre-configured PETG profiles.
Free to download. No account required. All printer brands welcome.
Material Drying and Enclosure for PETG
Why Drying Matters
PETG is hygroscopic and absorbs atmospheric moisture at a faster rate than PLA. A spool left out in a room with 50% humidity for one week can absorb enough water to cause visible printing defects: popping and cracking sounds from the nozzle, steam bubbles on the extrusion surface, increased stringing, and reduced part strength. The absorbed water turns to steam inside the hot-end, disrupting flow consistency.
Drying Parameters
- Temperature: 65°C (do not exceed 70°C or the spool may deform)
- Duration: 4-6 hours in a filament dryer or food dehydrator
- Storage: After drying, store in a sealed bag with desiccant (silica gel) at 10-20% relative humidity
- Quick test: Bend a 30 cm length of filament. If it snaps or cracks audibly, it is too brittle from moisture and must be dried. PETG should bend into a U-shape without breaking.
Do You Need an Enclosure?
PETG does not strictly require an enclosure like ABS or ASA, but an enclosure helps in specific scenarios. If your printing environment is below 18°C (64°F) or has noticeable drafts from air conditioning or open windows, an enclosure ensures stable ambient temperature and reduces warping on large flat parts. A simple acrylic enclosure or even a cardboard box placed over the printer is enough to stabilize the air temperature around PETG. Keep the enclosure door slightly open or vented to prevent heat creep from raising the electronics compartment above 45°C. Do not seal PETG in an enclosure the way you would for ABS, because PETG does not need sustained 40-50°C chamber temperatures.
Common Questions About PETG Print Settings
Is 230 too low for PETG?
230°C is at the lower end of the PETG range and may work for specific brands, but it is generally too cold for optimal layer adhesion. Most PETG filaments produce stronger parts at 240-250°C. At 230°C, you may see good surface finish but weak interlayer bonding, especially on parts that need to bear mechanical load. Print a temperature tower to find your filament’s actual sweet spot rather than assuming 230°C will work.
How to get PETG to print smoothly?
Three adjustments produce the biggest improvement: dry your filament first (65°C for 4-6 hours), reduce fan speed to 20-30% maximum, and calibrate your Z-offset at 0.03-0.05 mm higher than PLA. Smooth PETG surfaces also benefit from ironing enabled at 10-15% flow. If the top surface still looks rough, check your flow rate with a single-wall calibration cube and reduce flow if the walls measure above your set line width.
What is a good print speed for PETG?
A good starting speed for PETG is 50 mm/s for outer walls and 70 mm/s for infill. First layer must be slower at 20-30 mm/s. If you are using a high-flow hot-end like the Bambu Lab X1C, you can increase outer wall speed to 80 mm/s while keeping volumetric flow limited to 12 mm³/s. Bowden-based printers like the Creality Ender series should stay at or below 50 mm/s for reliable quality.
What temperature should I print PETG at?
Print PETG at a nozzle temperature of 240-250°C for most brands and a bed temperature of 75-85°C. Check your filament spool label for the manufacturer’s recommended range, which takes precedence over generic guidelines. For perspective to PETG filament temperature sensitivity: a deviation of 5°C can be the difference between a glossy, strong print and a brittle, stringy failure. Always run a temperature tower for a new spool of PETG.
Start Printing PETG With Confidence
Dialing in petg print settings takes more attention than PLA, but the rewards are parts that withstand higher temperatures, absorb impact without cracking, and hold up outdoors in direct sunlight. Start with the generic profiles in this guide, run a temperature tower and a retraction test, then tune per-spool because every brand’s PETG formulation is slightly different.
The PETG community has matured significantly. What used to be a frustrating material known for stringing and adhesion issues is now a reliable everyday filament for thousands of makers producing functional parts that PLA simply cannot handle.
Put Your PETG Settings to Work
Find print-ready PETG models with embedded settings on DIY3D’s free model library.
Browse Community Designs on DIY3D
No paywalls. No brand lock-in. Just a community of makers sharing free 3D models.
External reference: This guide’s temperature and speed baselines reference manufacturer specifications from Overture3D (2026 PETG print settings guide) and market data from 3DPrint.com’s 2025 industry report. Overture PETG print settings guide (2026).
